About project edits
The Project record houses the project’s details that are used for reporting, template selection, integration data, and basic project information. After a project has been created, changes can be made to any of the specific data, and these values update the basic edits can be completed from the Project form.
The following roles have permission to perform this activity: GSA-Regional KPM, GSA-PMACOR, GSA-Regional Manager, GSA-Project Creator.
Update the project type and subtype
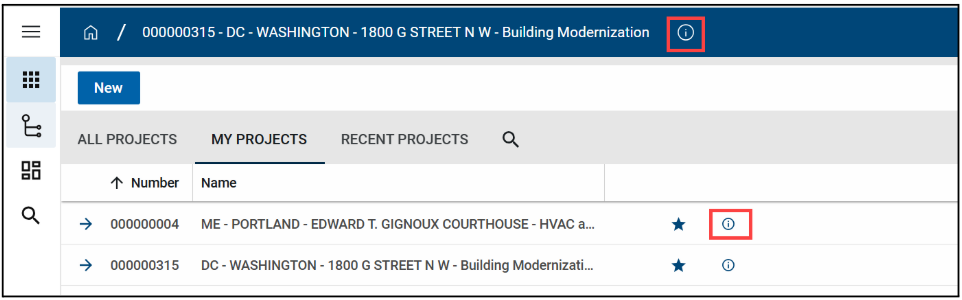
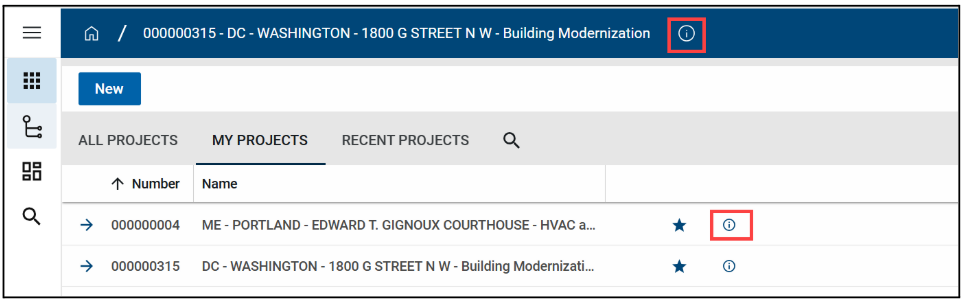
- Open the project using Project Finder in the left navigation pane.
Click the View Details icon next to the project name to open the project for edits.
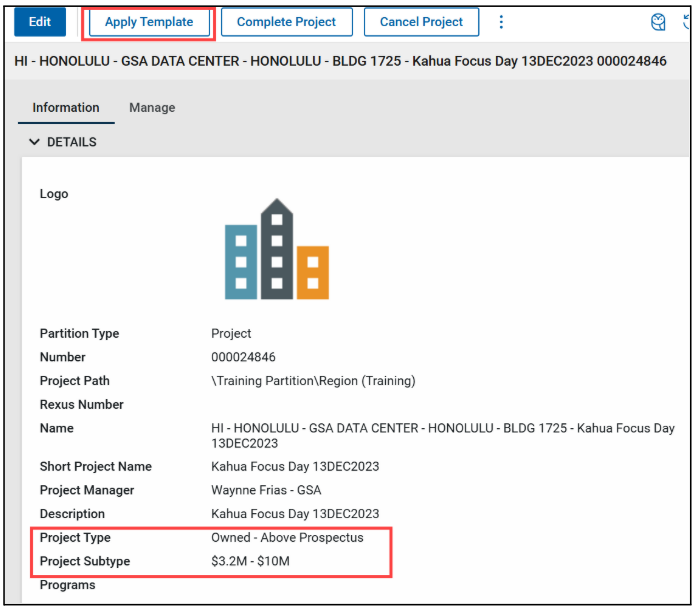
Click the Edit button on the top toolbar of the Project Details.
- Update the Project Type and/or the Sub Project type in the Details section.
- Click the Save/Close button.
Once the Apply Template button at the top of the form to update the template used for the project. The Template Last Applied date will update.
Enable baselining of milestones
- Open the project using Project Finder in the left navigation pane.
- Click the View Details icon next to the project name to open the project for edits.
- Click the Edit button on the top toolbar of the Project Details.
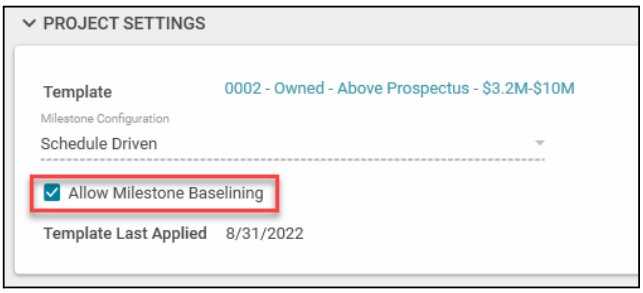
Check the Allow Milestone Baselining box in the Project Settings section.
Click the Save/Close button.
Update the internal status or client status
The Internal Status and Client Status entry creates a new row in the section and includes the Comment, Created By, and Creation Date (and time).
- Open the project using Project Finder in the left navigation pane.
- Click the View Details icon next to the project name to open the project for edits.
- Click the Edit button on the top toolbar of the Project Details.
To enter a new Status, enter text in the New Internal Status Comment or New Client Status field.
Click the Save/Close button.
Populate milestones from the milestones app
Once the Milestones app has been configured and the project is set to allow milestone baselining, you can populate the project’s milestone data directly from the Milestones App.
To populate milestones data into the project form:
- Open the project using Project Finder in the left navigation pane.
- Click the View Details icon next to the project name.
- Ensure that Allow Milestone Baselining is checked in the Project Settings section.
- Click Save/Close if you had to make this change.
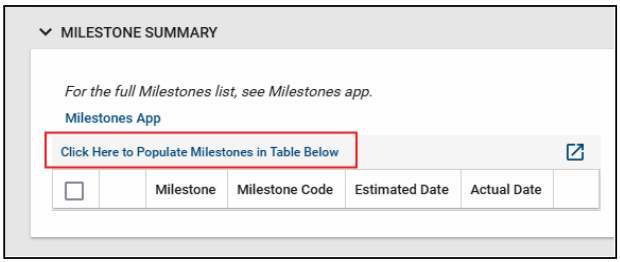
Scroll down to the Milestone Summary section and click Click Here to Populate Milestones in the Table Below link.
The Project Details window will refresh and the milestone dates will automatically populate based on the schedule entered in the Milestones App.
- Scroll back down to the Milestones App to review that the newly milestones populated.
Note: If no milestones have been configured in the Milestones App for this project, the pull from that app will return no data. You must first ensure milestones are entered and assigned to this project.
Update IRIS work items or RETA work requests
The IRIS Work Items and RETA Work Requests listed in the Funding section are linked to the project in the apps and determine funding information that is available for transactions with IRIS or RETA, so this information must stay updated. You can delete, edit, and add more items as needed.
- Open the project using Project Finder in the left navigation pane.
Click the View Details icon next to the project name to open the project for edits.
Click the Edit button on the top toolbar of the Project Details.
- Edit the funding numbers.
- To add a new funding line item, enter the appropriate number in the ASID/Work Item drop-down list.
- To add a new funding RWA/Work Request, select the appropriate number in the RWA/Work Request drop-down list.
- To delete an existing ASID/Work Item or RWA/Work Request, put a check mark in the checkbox under the Delete header and click the Delete link.
- To add a new ASID/Work Item or RWA/Work Request, click the Insert link to add a new row. Select IRIS or RETA in the Type drop-down list. Select the appropriate number in the ASID/Work Item or RWA/Work Request drop-down list.
- Click the Save/Close button.
Update the roster: project manager
The Project Manager in the Roster is a required field when a project is created, but it can be changed at any time. Changing the Project Manager in the Project form gives the new Project Manager, GSA-PMACOR permissions and removes the permissions from the previous Project Manager.
- Open the project using Project Finder in the left navigation pane.
- Click the View Details icon next to the project name to open the project for edits.
- Click the Edit button on the top toolbar of the Project Details.
- In the Project Manager field in the Roster section, click the arrow to open the list, and click on the name of the new Project Manager.
- Click the Save/Close button.
Update the roster: contracting officer, property/facility manager, or project executive/sponsor
- Open the project using Project Finder in the left navigation pane.
- Click the View Details icon next to the project name to open the project for edits.
- Click the Edit button on the top toolbar of the Project Details.
- In the Contracting Officer, Property/Facility Manager, or Project Executive/Sponsor field in the Roster section, click the arrow to open the list, and click on the name of the new team member.
- Click the Save/Close button.
Note: Adding project team members to the Project Roster does not include them in the Project Directory.
Additional scope
The Additional Scope section is used to enter the number of occupants, parking space, and square footage information.
- Enter values in the appropriate fields.
- Click the Save/Close button.
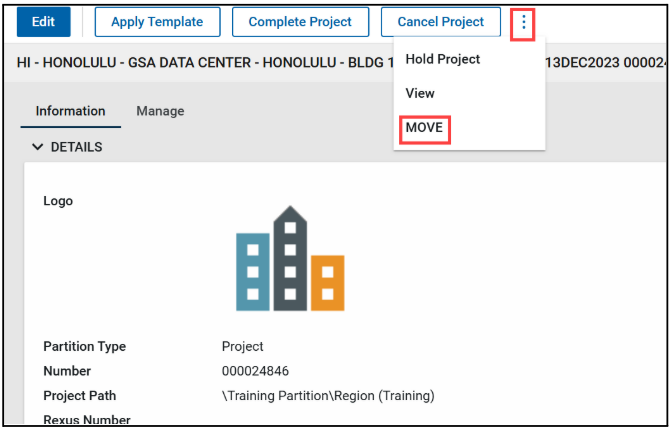
Move a project
If a project was added to the incorrect location, it can be moved to the correct location.
The following roles have permission to perform this activity: GSA-Regional KPM.
- Open the project using Project Finder in the left navigation pane.
Click the View Details icon next to the project name to open the project for edits.
Click the Edit button on the top toolbar of the Project Details
Select the 3 vertical dots icon on the top toolbar of the Project Details and choose Move
Click the arrow beside GSA Domain and continue drilling down to the correct partition.
- Click the Move button located on the bottom right corner of the window.
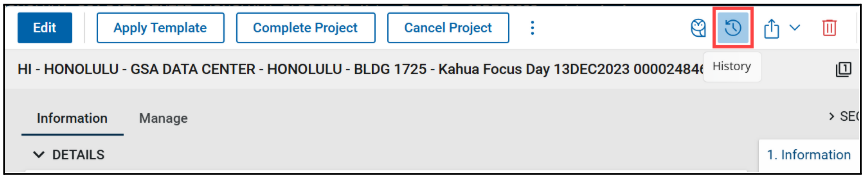
History of the project properties form
To view the historical changes made to the project properties form, click the History button on the top toolbar.
To view a specific edit, click the View Edit link located to the right of the history reference.
- To close the form, click the X in the top right corner.

 U.S. General Services Administration